How to Add a Booking Chatbot to Your Instagram Bio
Your Instagram bio has one link. Most people waste it.
They link to a general website homepage that was designed for desktop visitors, doesn't answer specific questions, and has no obvious next step for a new prospect.
There's a better option.
What Your Bio Link Should Do
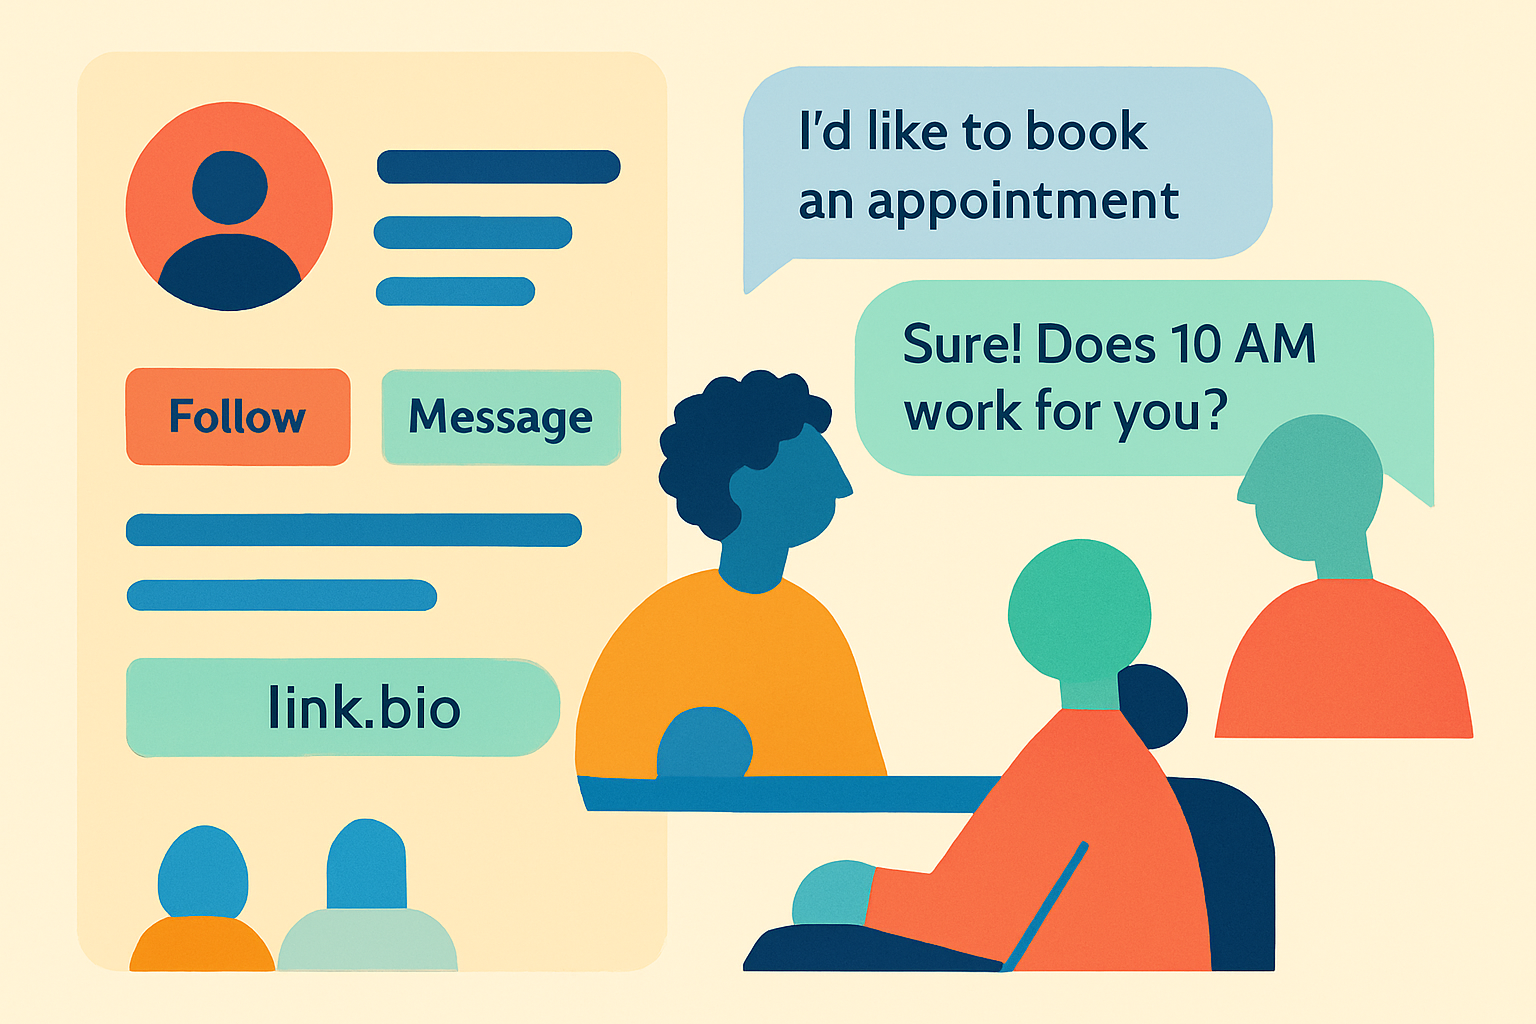
When a follower clicks your bio link, they're at maximum interest. They've been scrolling through your content, they like what they see, and they want to know more. The bio link is the moment to convert that interest into a conversation.
The problem with a static website: it shows information, but it doesn't engage. Most visitors read briefly and leave. The conversion rate from website visit to booked appointment is typically 1-3%.
An AI chatbot does something different. It greets the visitor immediately, asks what they're looking for, and guides them toward a specific outcome — usually answering their question or booking a call. Conversion rates from chatbot conversations to booked appointments are typically 15-30%.
Step-by-Step: Adding a Booking Chatbot to Your Instagram Bio
Step 1: Create Your BotChap Account Sign up at BotChap.com. The free plan is enough to start — you'll get a direct link to your chatbot immediately.
Step 2: Build Your Knowledge Base Write a short document (even 300-500 words) that covers:
- What you do and who you help
- Your services and pricing
- Your process for new clients
- Common questions you get asked
Upload this in BotChap's Knowledge Base (requires Starter plan). Your AI will answer questions from this content.
Step 3: Configure the Booking Flow In your widget settings, configure what information the AI should collect when someone wants to book: their name, what they're interested in, their preferred time, and their contact details.
Step 4: Customise the Look Set your brand color and give the chatbot a name that fits your personal brand — "Coaching with [Your Name]" or simply your name.
Step 5: Get Your Direct Link From your BotChap dashboard, open the widget and copy the direct link. It looks like: botchap.com/chat/[your-widget-id]
Step 6: Add to Instagram Bio Go to your Instagram profile → Edit Profile → Website. Paste your BotChap direct link.
That's it. Every follower who taps your bio link now gets an immediate, personalised conversation with your AI.
What Happens After a Follower Taps the Link
- They're taken to a full-screen chat interface on their phone
- Your AI greets them ("Hi! I'm [Name]'s assistant. What are you looking for?")
- The conversation unfolds based on what they ask
- If they're interested in booking, the AI collects their availability
- You get a notification with their details
- You confirm the booking when you have a moment
No DMs required. No waiting for you to be online. No missed inquiries.
What to Include in Your Opening Message
The first message your AI sends sets the tone. A few examples that work well:
- "Hi! I'm [Name]'s assistant. I can answer questions about [service] and help you book your first session. What would you like to know?"
- "Hey! Looking to book or have questions about working together? I can help right now."
- "Welcome! Ask me anything about [Name]'s [coaching/services/classes] or book a free call."
Keep it warm, specific to what you do, and action-oriented.
Tips for Better Results
- Promote the link in your content: In your captions and Stories, remind followers that your bio link connects them to your AI for quick answers
- Update the knowledge base regularly: If your prices change or you add a new service, update your document so the AI stays accurate
- Add a QR code to physical materials: Print the matching QR code for your studio, gym, or office so offline contacts can reach the same AI