How to Build a Zapier AI Chatbot Widget for Your Website
You already run your business automations through Zapier. Leads flow into HubSpot. Support tickets hit Slack. Appointments land in Google Calendar. Every message your team acts on already moves through a Zap somewhere.
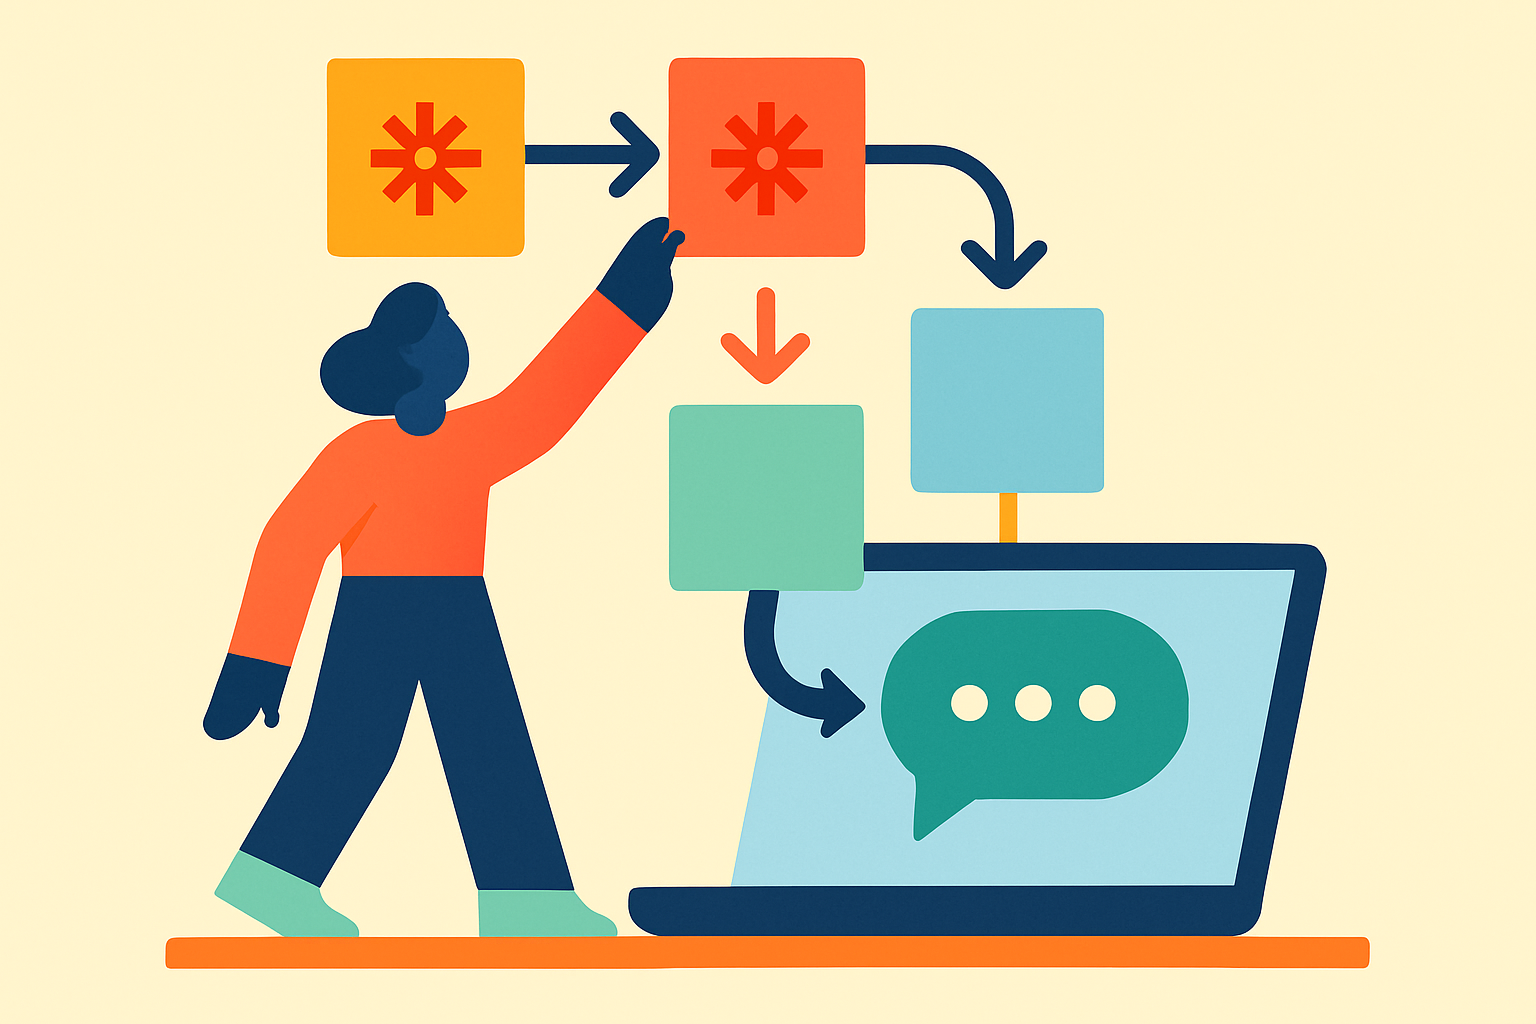
The missing piece is a branded chat widget that sits on your website and fires those same Zaps the moment a visitor types a message. Right now, visitors fill out forms or wait for a callback. With a Zapier-connected chat widget, that visitor message becomes a Zapier trigger instantly — routed to whatever apps and logic you already have in place.
This guide walks you through connecting BotChap to Zapier using BotChap's Zapier integration. You'll choose between two modes — async (fire-and-forget) or sync (live AI reply) — and have a working widget embedded on your site by the end.
Why Zapier for Chat
Zapier is the obvious choice for teams that already rely on it for their automation stack. The reasons are practical.
You get access to 7,000+ app integrations out of the box. Whatever your stack — HubSpot, Salesforce, Notion, Airtable, Mailchimp, Slack, Google Sheets, Calendly — there is already a Zapier action for it. You do not need to write API clients or maintain custom integrations.
You do not need a new backend. Most chat widget setups require you to deploy a server somewhere to handle incoming messages. With Zapier's Catch Hook trigger, Zapier gives you a webhook URL that acts as your endpoint. You paste that URL into BotChap and you are done.
Your existing Zaps can power the chat. If you already have a Zap that creates a HubSpot contact from a form submission, you can extend that same Zap — or build a parallel one — to handle chat messages. The logic you have already written carries over.
The free tier works for lower-volume widgets. Zapier's free plan includes 100 tasks per month. If your widget handles a modest number of conversations, you may not need a paid Zapier plan at all. Each visitor message counts as one task, so 100 tasks means up to 100 messages per month before you hit the cap.
You stay in control of the AI model. Unlike closed chatbot platforms, you choose where the intelligence lives. You can use OpenAI directly inside a Zap, point to a different model, or skip AI entirely and just route messages to a human queue. BotChap handles the widget; Zapier handles the logic.
Two Modes: When to Use Each
BotChap's Zapier backend supports two modes. The right choice depends on whether your visitors need an immediate reply or whether you are routing their message to a workflow that runs in the background.
| Feature | Async (fire-and-forget) | Sync (waits for reply) | |---|---|---| | Visitor wait | Instant acknowledgment, no live reply | Waits for Zap to return a response | | Requires Return Response | No | Yes — must be the last Zap step | | Default mode | Yes | No | | Best for | Lead capture, support tickets, routing to Slack | Live AI replies via OpenAI or another model | | Timeout | None (widget shows ack message) | 3–30 seconds (configurable; Zapier hard ceiling is 30s) |
Recommendation: start with async mode. It is simpler to set up, more resilient to Zap execution time, and covers the majority of use cases — lead routing, CRM entry, Slack notifications. Switch to sync mode when your visitors genuinely need a live reply in the chat window, such as when you are powering an AI support agent or a knowledge-base assistant.
If you are familiar with the n8n approach, async mode is conceptually similar to n8n's fire-and-forget webhook. See the n8n chat widget guide for a comparison.
Setup: Async Mode
Async mode sends the visitor's message to your Zap, shows an acknowledgment message in the widget, and lets the Zap run without waiting for a reply. Total setup time: about 10 minutes.
Step 1: Sign up for BotChap and create a widget
Go to botchap.com and create a free account. Once inside, click Create New Widget. Give it a name and choose a backend type — you will configure the Zapier URL in a moment.
While you are here, customize the widget appearance: pick a color, set the bot's name and avatar, and write a welcome message. A well-branded widget significantly increases the number of visitors who actually start a conversation.
Step 2: Create a new Zap and add a Catch Hook trigger
In Zapier, click Create Zap. Search for Webhooks by Zapier as the trigger app, then select the Catch Hook trigger event. This gives Zapier a static webhook URL that will receive every message BotChap sends.
Click Continue to generate the hook URL. Do not close this tab — you need the URL in the next step. Zapier documentation for Catch Hook is at https://help.zapier.com/hc/en-us/articles/8496326417549.
Step 3: Copy the Catch Hook URL
After clicking Continue, Zapier shows your Custom Webhook URL. It looks like:
https://hooks.zapier.com/hooks/catch/1234567/abcdefg/
Copy this URL.
Step 4: Configure the Zapier backend in BotChap
Back in BotChap's widget settings, go to the Backend section and select Zapier as the provider. Paste your Catch Hook URL into the webhook field.
Step 5: Set mode to Async and configure the acknowledgment message
In the same settings panel, set Mode to Async. Then write an acknowledgment message — this is what the widget shows the visitor immediately after they send a message. Something like "Thanks, we got your message — we'll follow up shortly" works well for lead capture. For a support context, "Your request has been received. Expect a reply within 2 hours" sets expectations clearly.
Step 6: Add downstream actions to your Zap
Now go back to Zapier and add the actions that should run when a message arrives. Common choices:
- Google Sheets → Create Spreadsheet Row — log every conversation to a sheet for later review
- HubSpot → Create Contact — turn the visitor into a CRM record using the data BotChap sends (name, email if collected, page URL, user agent)
- Slack → Send Channel Message — alert your team in real time
You can chain as many actions as you need. The Zap fires once per visitor message, so a three-action Zap costs three Zapier tasks per message.
Step 7: Turn on the Zap
Zapier will not process incoming webhooks until the Zap is turned on. Flip the toggle to On before testing.
Step 8: Embed the widget on your site and test
In BotChap, click Publish. Copy the embed snippet — a single <script> tag — and paste it before the closing </body> tag on your site:
<script
  src="https://www.botchap.com/widget.js"
  data-id="your-widget-id"
  defer>
</script>
Open your site, send a test message through the widget, and check Zapier's task history. You should see a completed task within a few seconds. The visitor sees the acknowledgment message immediately; the Zap runs in the background.
Setup: Sync Mode
Sync mode holds the chat window open and waits for your Zap to send back a reply. This is how you deliver a live AI response in the widget — typically by calling OpenAI inside the Zap and returning the output.
Steps 1 through 3 are identical to async mode: sign up for BotChap, create a Zap with a Catch Hook trigger, and copy the hook URL.
Step 4: Add a "Code by Zapier" step to call OpenAI
After the Catch Hook trigger, add a Code by Zapier action and choose Run JavaScript. In the input data section, map the message field from the Catch Hook trigger — this is the text the visitor sent.
In the code block, write a fetch call to the OpenAI Chat Completions API:
const response = await fetch('https://api.openai.com/v1/chat/completions', {
  method: 'POST',
  headers: {
    'Content-Type': 'application/json',
    'Authorization': 'Bearer ' + inputData.openaiKey
  },
  body: JSON.stringify({
    model: 'gpt-4o-mini',
    messages: [
      { role: 'system', content: 'You are a helpful assistant.' },
      { role: 'user', content: inputData.message }
    ]
  })
});
const data = await response.json();
output = [{ reply: data.choices[0].message.content }];
Store your OpenAI API key as a Zapier secret input (openaiKey) rather than hardcoding it. Test this step to confirm you get a reply back before moving on.
Step 5: Add a "Webhooks by Zapier → Return Response" step
This is the step that sends the reply back to BotChap. Add Webhooks by Zapier as an action and select the Return Response event. Set the response body to:
{"reply": "<<output from Code step>>"}
Map the reply field to the output from your Code by Zapier step. Set the status code to 200 and the content type to application/json.
Full documentation for Return Response is at https://help.zapier.com/hc/en-us/articles/8496065014157.
Important: Return Response must be the last step in your Zap. Any actions you add after it will not run in sync mode because Zapier closes the request once the response is sent.
Step 6: Configure BotChap for sync mode
Back in BotChap, paste the Catch Hook URL into the Zapier backend field (same as async). Set Mode to Sync and set Timeout to 15s. A 15-second timeout gives OpenAI enough time to respond under normal conditions without making visitors wait too long if something goes wrong.
The timeout range is 3–30 seconds. Zapier's hard ceiling on Catch Hook response time is 30 seconds — if your Zap takes longer than that, Zapier closes the connection and BotChap shows a generic retry message to the visitor.
Step 7: Test end-to-end
Turn on the Zap, publish the BotChap widget, and send a test message. You should see the visitor message appear, a brief loading indicator, and then the OpenAI-generated reply — all inside the chat widget, within the timeout window you set.
Payload Reference
BotChap sends the following JSON body with every message, in both async and sync modes:
{
  "message": "The text the visitor typed",
  "conversationId": "conv_abc123",
  "chatbotId": "bot_xyz789",
  "timestamp": "2026-04-18T10:30:00.000Z",
  "visitor": {
    "userAgent": "Mozilla/5.0 ...",
    "pageUrl": "https://example.com/pricing",
    "locale": "en-US"
  },
  "history": [
    { "role": "user", "content": "Hello" },
    { "role": "assistant", "content": "Hi, how can I help?" },
    { "role": "user", "content": "The text the visitor typed" }
  ]
}
All fields are always present. The history array contains the full conversation up to the current message, with alternating user and assistant entries. History is capped at 20 messages — older messages are dropped first when the cap is reached. This cap exists to keep payloads predictable and to avoid hitting webhook size limits.
Inside your Zap, reference these fields using Zapier's field-picker syntax after the Catch Hook trigger has been tested once with a real payload.
Example Zap Recipes
Three patterns cover most Zapier chat widget use cases.
Chat-to-CRM: Catch Hook → Filter → HubSpot Create Contact
Use this when your primary goal is lead capture. Add a Filter step between the Catch Hook and HubSpot to check that the visitor's message contains an email address or signals buying intent (you can filter on keywords like "price", "demo", "trial"). If the filter passes, create a HubSpot contact with the visitor's page URL, locale, and message as notes. Run this as async mode and set the acknowledgment message to something that sets expectations for follow-up timing.
After-hours Slack concierge: Catch Hook → Slack Send Message
Use this to route visitor messages to a Slack channel during hours when no one is actively monitoring the website. Add a Zapier Filter or Paths step to check whether the current time falls outside business hours, then send the message — along with the page URL and conversation ID — to a dedicated Slack channel. Your team can reply manually; BotChap keeps the conversation history so the context is always there. Run this as async mode.
AI chat via OpenAI + Return Response
Use this when visitors need immediate answers — product questions, knowledge-base lookups, troubleshooting steps. Follow the sync mode setup above: Catch Hook → Code by Zapier (OpenAI call) → Return Response. Pass the full history array from the BotChap payload into your OpenAI messages array so the model has conversation context on every turn. This gives the visitor a continuous back-and-forth without losing context between messages.
Limits and Gotchas
A few things to know before you go live.
Zapier task usage. Each visitor message triggers one Zap execution and consumes one Zapier task per action in that Zap. A Catch Hook → HubSpot (2 actions) Zap costs 2 tasks per message. Zapier's free plan includes 100 tasks per month. If your widget handles meaningful traffic, plan for a paid Zapier plan.
Sync mode requires Return Response as the final step. If your Zap ends on any other action, Zapier will not send a response body back to BotChap. The widget will wait until it hits the timeout and then show a retry message. This is the most common sync mode misconfiguration.
Non-2xx responses trigger a generic retry message. If your Zap returns an HTTP error (or Zapier itself returns an error), BotChap shows the visitor a generic "something went wrong" message and offers a retry button. Monitor your Zap's error rate in Zapier's task history, especially in the first few days after launch.
History is capped at 20 messages. Once a conversation exceeds 20 turns, the oldest messages are dropped from the history array. For most support or lead-capture use cases this is not a problem, but if your AI assistant relies on context from early in the conversation, be aware of this limit.
Timeout is clamped between 3 and 30 seconds. Values below 3s or above 30s are automatically clamped. Zapier's own hard ceiling for Catch Hook responses is 30 seconds. If your OpenAI step takes longer than 30 seconds (rare, but possible under load), the connection closes on Zapier's side and BotChap shows the retry message regardless of your timeout setting.
Next Steps
If you are ready to connect your Zapier account to BotChap, start by creating a free account at botchap.com. The widget builder walks you through the Zapier setup in a few clicks, and the Catch Hook URL is all you need to get your first Zap firing.
For a full overview of the Zapier integration — including screenshot walkthroughs and example payloads — see the Zapier chatbot widget integration page at /integrations/zapier-chatbot-widget/.
If your automation stack uses n8n instead of (or alongside) Zapier, the n8n chat widget guide at /blog/how-to-add-chat-widget-to-n8n-workflow/ covers the equivalent setup. The two guides are designed to be read together if you are deciding between the two platforms.